 Skip to content
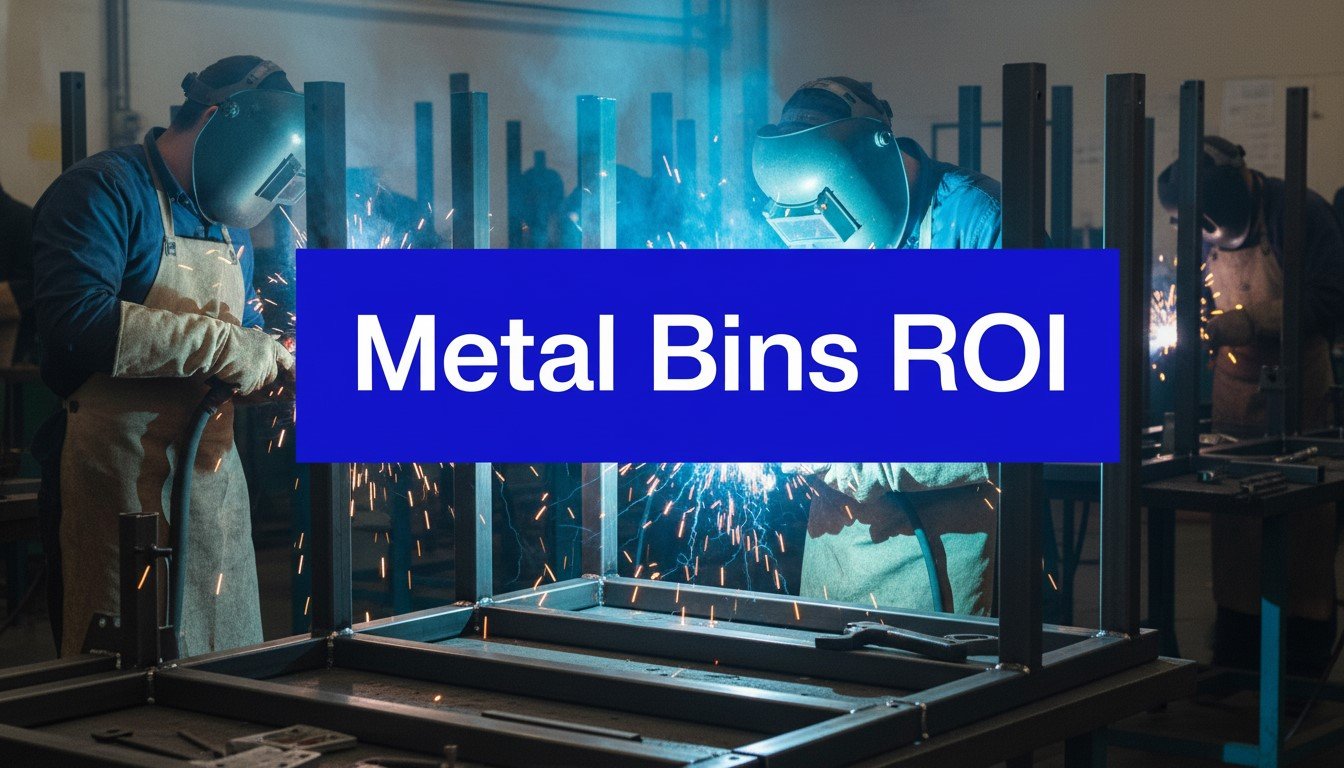
You’re dealing with one of these problems right now.
A standard wire basket or off-the-shelf steel tote looked fine during purchasing. Then production started using it for parts, in full quantities, with active forklift traffic. Parts started rubbing. Operators started reaching too far. Stack heights got conservative because nobody fully trusted the load rating. Floor space disappeared faster than expected. The bin didn’t fail dramatically. It failed subtly, one avoidable handling problem at a time.
That’s why metal parts bins shouldn’t be treated like a commodity line item. In a manufacturing plant, the bin is part of the process. It affects damage rates, line-side presentation, forklift travel, cube utilization, operator motion, and the economics of any returnable packaging loop. If the bin doesn’t match the part and the workflow, the operation pays for that mismatch every day.
Why Standard Bins Fail in Modern Manufacturing
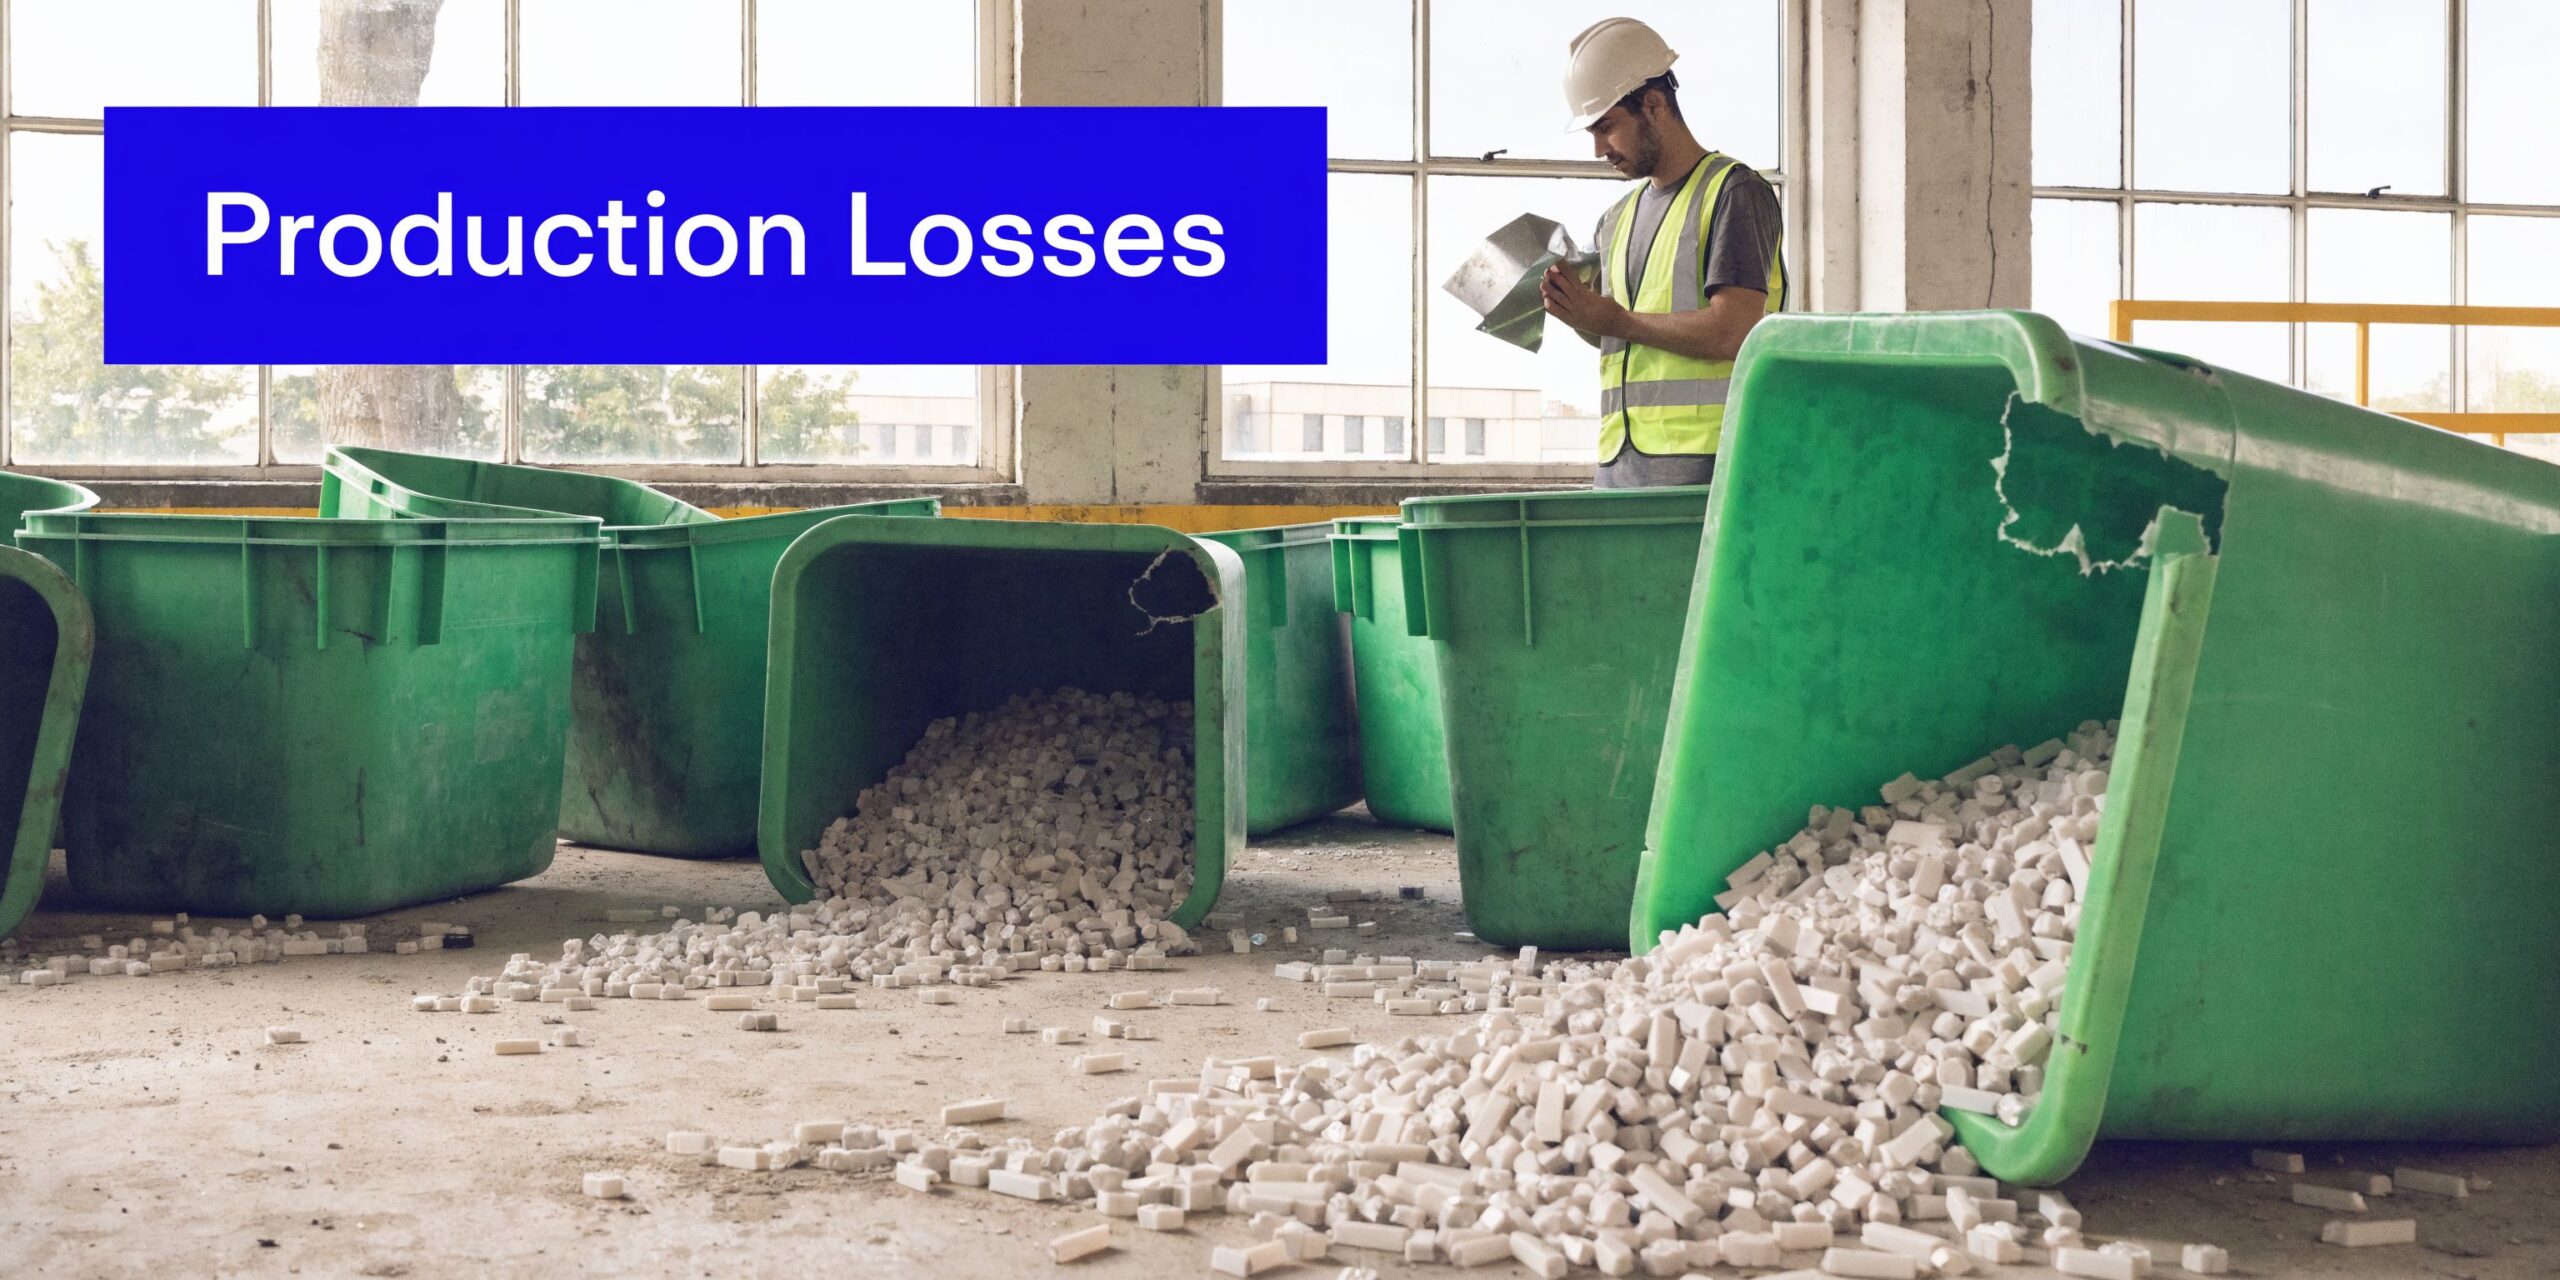
The common assumption is simple. A bin holds parts, so any sturdy bin should work.
That assumption breaks down on a production floor. A generic bin may hold the weight, but still create damage, wasted motion, poor line access, and awkward empty return logistics. Those costs usually don’t show up on the quote. They show up later in labor, scrap, congestion, and workarounds.
The hidden cost sits in the mismatch
The problem usually isn’t that standard bins are badly made. The problem is that they’re built around generic dimensions instead of a specific part family and a specific handling method.
A bin can be wrong in several ways:
Wrong internal footprint: Parts shift, tumble, or bridge instead of sitting in a stable orientation.
Wrong wall height: Operators either dig too deep or lose containment during transport.
Wrong entry points: Forklifts approach from the wrong side and drivers make extra moves.
Wrong presentation method: Assemblers need direct access, but the bin forces top-picking only.
Wrong stack geometry: The load might be safe as a single unit but inefficient once the floor starts stacking.
Standard bins solve purchasing simplicity. They rarely solve production reality.
Therefore, metal parts bins deserve the same design discipline as racks, dunnage, and material flow lanes. If the container is part of the manufacturing system, it has to be specified like one.
Why this matters now
The wider metal container market reflects that push toward efficiency. The U.S. Metal Can & Container Manufacturing industry is projected to generate $29.9 billion in annual revenue in 2026, with profit margins improving to 12.5% due to automation and process optimization, according to IBISWorld’s industry research on metal can and container manufacturing. That matters because buyers aren’t just paying for steel anymore. They’re paying for smarter fabrication, better process control, and designs that support leaner operations.
What works better
The better approach is to treat the bin as a controlled interface between five things:
The part
The operator
The forklift or tugger
The storage system
The shipping loop
When those five elements align, the bin stops being dead weight. It becomes a profit-protecting tool.
That’s the difference between buying a container and engineering one.
Choosing Your Foundation Bin Materials and Coatings
Metal bins have been evolving for a long time. The shift started in the early 20th century, when metal bins replaced barrels and crates in industrial settings because manufacturers needed more durable, safer, and more efficient handling methods, as described in this history of industrial metal bins.
That same logic still applies. Start your specification with the base material and the finish, because those choices affect weight, corrosion resistance, repairability, and long-term cost.
Start with the base metal
For most manufacturing programs, the first material decision comes down to carbon steel or aluminum.
Carbon steel is usually the practical default. It’s strong, widely available, straightforward to fabricate, and well suited for bins that will see repeated forklift handling, stacking, and impacts. If your parts are dense, sharp-edged, or irregular, steel usually gives you more design freedom with fewer compromises.
Aluminum solves a different problem. It lowers tare weight and naturally resists corrosion. That can help in applications where manual repositioning matters, where transport weight matters, or where the operating environment is consistently wet or chemically aggressive. The trade-off is that aluminum bins often need more attention to structural design because light weight can work against stiffness when loads get dense.
Material and coating selection matrix
| Specification | Carbon Steel | Aluminum | Powder Coat Finish | Galvanized Finish |
|---|---|---|---|---|
| Primary strength use | Strong choice for dense parts and repeated industrial handling | Better fit when lower bin weight matters | Adds a protective finish for indoor service | Adds corrosion protection for harsher environments |
| Weight trade-off | Heavier, often beneficial for stability | Lighter, easier to move but can require design care | Doesn’t change base weight meaningfully | Adds finish protection rather than changing structure |
| Corrosion behavior | Needs finish selection matched to environment | Natural corrosion resistance is a major advantage | Good for indoor manufacturing and color coding | Better choice for outdoor yards or wet exposure |
| Repair and fabrication practicality | Common, flexible, familiar to most fabricators | Useful but not always the first choice for heavy abuse | Supports visual management and appearance control | Prioritizes durability over appearance detail |
| Typical buyer logic | Choose when durability and cost control matter most | Choose when tare weight is a key constraint | Choose when indoor wear and identification matter | Choose when exposure is the main design driver |
Pick the finish based on the abuse, not preference
A surprising number of coating mistakes happen because teams choose based on appearance rather than use case.
Powder coat is often the right answer for indoor manufacturing. It gives a clean finish, supports color coding by part family or process area, and works well when the bins operate in controlled environments. If you’re standardizing visuals across a plant, a powder coat storage container approach can make sense because the finish becomes part of the visual control system, not just a protective layer.
Galvanized finishes belong in tougher settings. Outdoor storage, washdown exposure, and corrosion-prone yards usually justify a more protective finish even if appearance is less refined.
Practical rule: Don’t ask which coating is better. Ask which failure you’re trying to prevent. Indoor abrasion and visual control point one way. Moisture and corrosion point another.
What buyers often miss
The material decision shouldn’t happen in isolation. It has to match:
Part density: Dense steel stampings push you toward stronger structures.
Handling method: Forklift-only systems can tolerate heavier bins better than hand-moved cells.
Return loop length: The more trips a bin makes, the more finish durability matters.
Environment: Indoor assembly, outdoor yard storage, and wet machining areas need different answers.
Maintenance reality: Some plants touch up finishes promptly. Others run containers hard and repair later.
What doesn’t work is mixing a light-duty material choice with a heavy-abuse workflow and then expecting the finish to compensate. Coatings protect surfaces. They don’t fix underbuilt structures.
How to Specify Load Ratings and Dimensions
The fastest way to overspend on metal parts bins is to overbuild them without understanding the load case. The fastest way to create a safety problem is to underbuild them because someone guessed.
Load rating has to be tied to how the bin is used. Not just how much product fits inside it.
Separate the three load questions
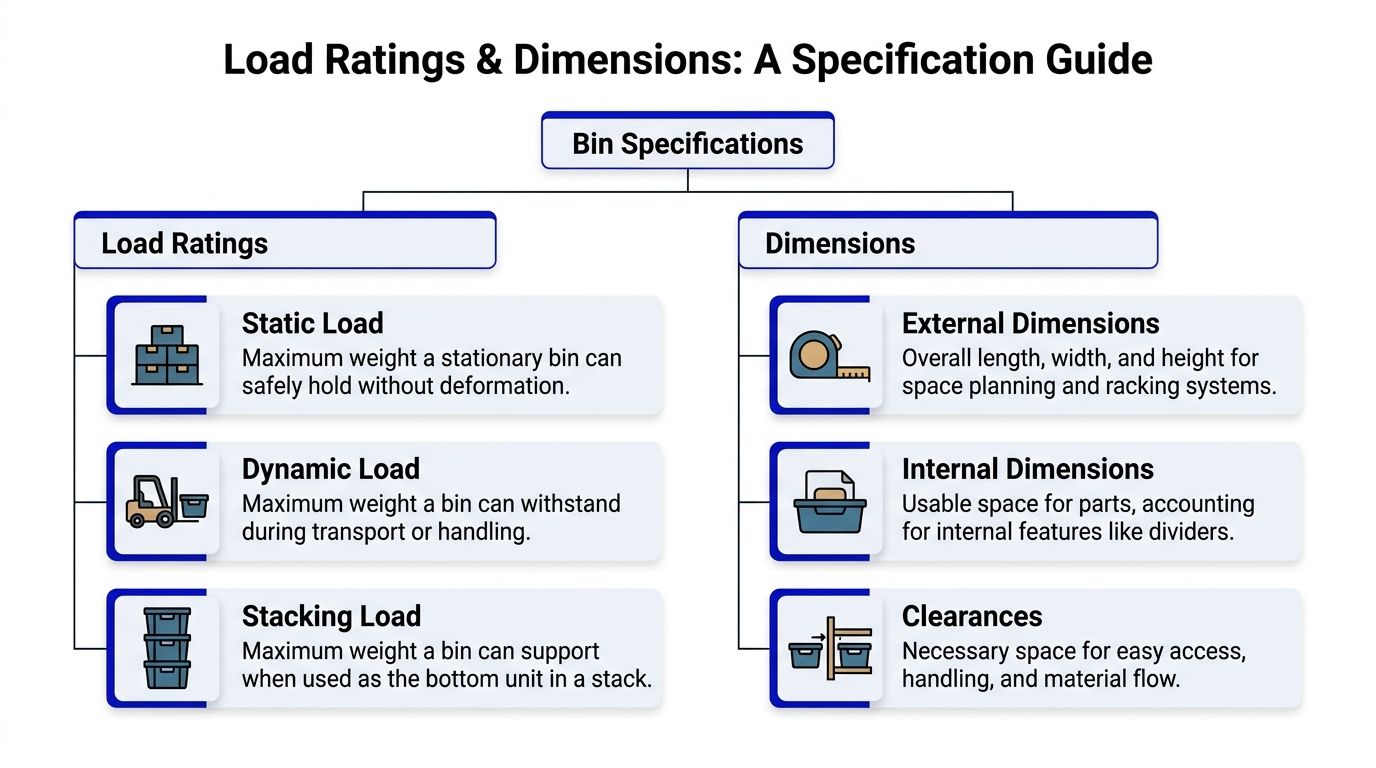
Most specification errors happen when teams use one number for everything. You need at least three:
Static load
This is what the bin can hold while sitting still.Dynamic load
This is what the bin can handle while being moved, lifted, set down, or transported.Stacking load
This is what the bottom bin must support when bins are stacked.
Those aren’t interchangeable. A bin that looks fine on the floor can still be the wrong choice if it will be moved frequently or used as the base of a loaded stack.
Use structure, not guesswork
Heavy-duty steel bins built with 12-gauge steel can reach up to 4,000 lbs capacity and stack four units high, which enables a fourfold increase in vertical storage density for heavy components, according to Plymouth Industries’ heavy-duty stackable steel storage bin specifications.
That kind of performance doesn’t come from steel alone. It comes from structural details:
Deck gauge: The deck carries the part load. Dense parts usually demand a stronger deck first.
Side panel gauge: Sidewalls affect stiffness, containment, and resistance to bulging.
Corner posts: These matter most when bins stack. They carry compressive load down the stack.
Base design: Forklift pockets and lower frames must survive impact, not just static weight.
Weld quality: A good drawing can still fail if the welded joints aren’t built for the load path.
A practical sizing method
Start with the part, not the bin catalog.
Ask these questions in order:
What does one part weigh?
How many parts should go in one bin at maximum fill?
Will the operator ever overfill it in practice?
Will the bin be transported loaded?
Will loaded bins be stacked? If yes, how many high?
Then define the working condition. A bin for dense machined components that sits on the floor all day has a different requirement than a bin carrying castings through a returnable loop with repeated forklift handling.
Don’t design to the average fill level. Design to the heaviest realistic day on the floor.
Dimensions need the same rigor
Load rating gets attention because it sounds technical. Dimensions deserve equal scrutiny.
A bin can have the right strength and still fail operationally if the dimensions ignore the part geometry and access pattern.
Focus on three dimensional layers:
| Dimension type | What to define | Why it matters |
|---|---|---|
| External dimensions | Overall length, width, height | Determines fit in aisles, trucks, trailers, racks, and staging lanes |
| Internal dimensions | Usable space after walls, dunnage, and reinforcements | Determines actual part count and fit |
| Clearance dimensions | Forklift entry, hand access, gate swing, stack engagement | Prevents handling interference and awkward operator motion |
Where teams get it wrong
The most common mistakes are simple:
Using outside dimensions for part-fit planning
Ignoring how corner posts affect usable opening size
Specifying bin height based on storage cube instead of operator reach
Assuming the forklift can approach from the needed direction
Forgetting that internal dunnage reduces net capacity
A good supplier will ask for part weight, density, stacking requirement, handling method, and target fill condition before they talk about gauge. If they don’t, you’re probably being sold a box, not an engineered container.
Integrating Bins into Your Production Workflow
A strong bin can still be a bad production bin.
Once load and size are settled, the next question is how the container behaves in motion. Material flow depends on access, travel, presentation, and how often workers need to touch the same parts before installation.
Forklift entry changes the whole lane
A 2-way entry bin may be acceptable in a simple warehouse lane. It becomes restrictive in tight production areas where drivers approach from changing directions.
A 4-way entry base usually gives the plant more flexibility. Drivers waste less time repositioning. Cells can be rearranged with fewer constraints. Material handlers don’t have to treat every lane like a one-direction system.
That doesn’t mean 4-way entry is best. If the added structure interferes with under-bin cleanout, increases cost without solving a true traffic issue, or reduces usable internal volume, it may not be worth it. The point is to match entry orientation to the traffic pattern, not to select features by habit.
Drop gates solve a line-side problem
Drop gates are one of the few bin features that change labor content at the point of use. According to Plymouth Industries’ industrial steel rigid container information, features like drop gates can reduce operator handling time by 20% to 35% by enabling ergonomic, gravity-fed dispensing of parts directly at the production line.
That’s valuable when the alternative is top-reaching into a deep container or unstacking bins just to access the lower unit.
Use a drop gate when:
Parts are picked repeatedly at line side
Bin wall height is otherwise too tall for comfortable access
The process benefits from front access without full unloading
You want one container to serve both transport and presentation
If mobility is also part of the workflow, a metal bin on wheels configuration can shift the design toward point-of-use presentation instead of stationary bulk storage.
If the operator has to fight the container to reach the part, the container is part of the waste.
Stacking, nesting, and automation fit
Workflow integration also means deciding what the bin does when it’s full, empty, and waiting.
Stacking helps when floor space is limited and parts are dense enough to justify vertical storage.
Nesting helps when empties need to return efficiently.
Fixed-wall rigid bins help when part protection matters more than empty-return cube.
Plants often want all three. They rarely get all three without compromise.
Match the feature to the process
Consider these questions before approving a design:
Does the bin sit in storage most of its life, or feed a work cell directly?
Will automation touch it, or only people and forklifts?
Are empties expensive to return because of cube, or are loaded trips the true cost center?
Is line-side visibility important for replenishment and picking accuracy?
A storage-focused bin and a presentation-focused bin aren’t the same object. Many sourcing mistakes happen when a team tries to make one geometry cover every use case in the plant.
From Part Geometry to a 3D-Modeled Bin Solution
A packaging team gets a welded bracket, a machined ring, and a painted panel on the same project. All three fit inside a standard steel bin by dimensions. Only one will survive routine handling without extra damage, slow picks, or awkward reorientation at the line. The gap is not the bin size. The gap is how the part geometry gets translated into a containment strategy.
Most guides stop too early. They cover steel, coatings, and stackability, then leave the team to figure out how an irregular, scratch-sensitive, or unstable part should sit, travel, and present inside the bin.
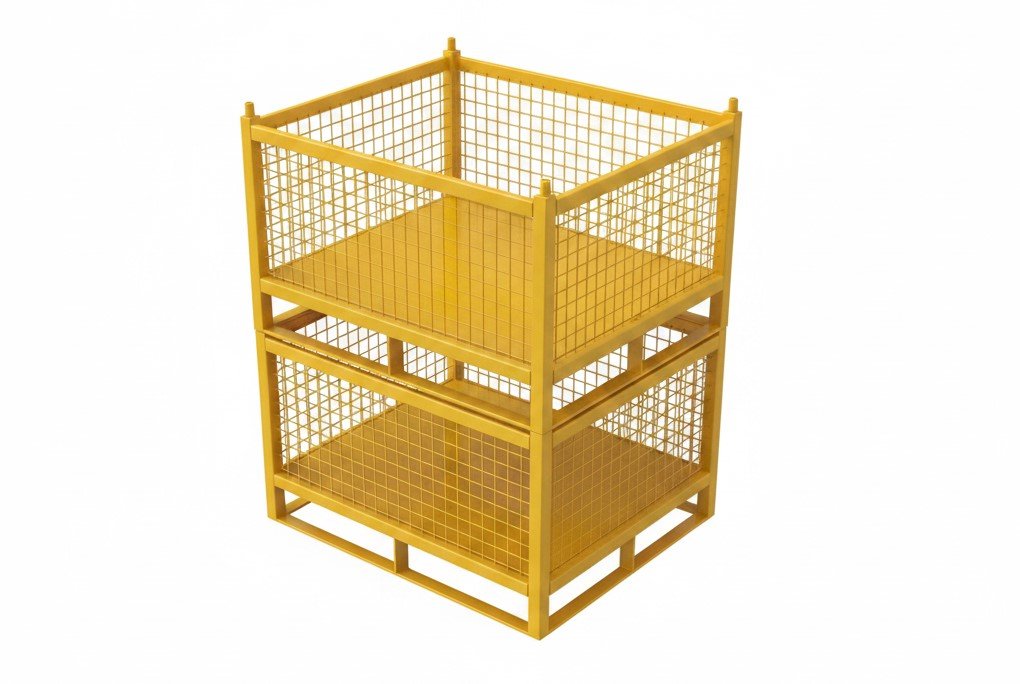
Start with the part in its actual handling condition
Use the part as it will enter the bin. That may mean a raw stamping with sharp edges, a coated assembly with no-contact cosmetic faces, or a machined part that becomes slippery once oil is present.
Nominal dimensions are only part of the specification. The bin design also needs handling information:
Which surfaces can carry load without distortion or finish damage
Where protrusions, studs, tabs, or hose connections create interference
Whether parts nest predictably or jam together under vibration
Which orientation stays stable during forklift movement and plant transport
How an operator grips, lifts, and removes the part while wearing gloves
Two parts with the same outer envelope can require different bins if one can tolerate edge contact and the other cannot.
Build the bin around the geometry
Custom work separates itself from standard catalog buying at this stage. The engineering job is to define how the part occupies space, where contact is allowed, and how much freedom of movement is acceptable.
A practical specification workflow usually follows five steps:
Model the true occupied volume
Start with the envelope of the part in use. Include projections, center-of-gravity effects, and keep-out zones for painted, machined, or gasketed areas.Choose the stored and presented orientation
A part may ship flat but need to present at an angle for line-side picking. If those two needs conflict, decide which condition drives the design and what compromise is acceptable.Define the contact points
Set where the bin, dividers, rails, or dunnage may touch the part. This decision controls damage risk more than wall thickness does.Set pack density against access
Higher pack count lowers freight cost per part, but it can raise pick time, increase hand interference, and create more part-to-part contact. The right answer depends on whether transport cost or line efficiency is the larger cost driver.Check movement under real handling
Parts that look stable in a static model can shift under braking, fork entry, or stack vibration. Internal controls have to limit that movement before the first prototype is approved.
What 3D modeling should resolve before steel is cut
A 3D model is useful because it exposes handling problems early. It shows whether a corner post blocks the operator’s reach path, whether a gate swing interferes with removal, and whether an internal divider steals too much cube to justify the protection it provides.
It also helps the team compare trade-offs with less guesswork. A deeper bin may raise part count, but if the bottom layer forces a poor wrist angle or two-handed extraction, the labor penalty can wipe out the freight savings. A simpler interior may reduce fabrication cost, but if the part rotates and presents inconsistently, downstream cycle time suffers.
One option in this category is Plexform Incorporated, which designs custom steel racks, bins, carts, and packaging solutions using part-specific 3D modeling.
The best bin geometry controls contact, controls movement, and still lets the operator remove the part without hesitation.
Common design mistakes that show up after launch
The expensive mistakes are usually ordinary ones.
Setting quantity first and handling second
Ignoring off-center weight and tipping behavior
Allowing enough clearance for shifting, not just loading
Sizing the opening to the part, not the hand path
Treating dunnage as a last-minute add-on instead of part of the load path
I usually tell teams to review the bin as a handling system with three questions: What touches the part, what constrains the part, and what the operator must do to get the part out. Once those answers are clear, the bin specification gets sharper. The supplier can model a solution that protects the part, supports the workflow, and gives purchasing a design they can justify on total operating cost, not just unit price.
Testing Quality and Calculating Long-Term ROI
If you’re sourcing custom bins, the quote review shouldn’t end at gauge, dimensions, and finish. You also need a way to judge build quality and justify the investment.
A low-priced bin that twists under load, chips badly, or creates access problems isn’t cheaper. It just moves cost somewhere harder to track.
What quality looks like in the finished bin
Start with physical inspection and basic validation.
Look closely at:
Weld consistency: Welds should look intentional and repeatable, especially at base joints, corner posts, and forklift entry structures.
Load-path details: Reinforcements should appear where forces travel, not just where they look symmetrical.
Forklift pocket execution: Entry points should be clean, accessible, and built for repeated contact.
Coating coverage: Corners, lower frames, and inside faces deserve as much scrutiny as visible outer walls.
Stack engagement: Stacked bins should seat positively and predictably, without rocking or vague alignment.
Then verify through testing. That usually means sample loading under the intended use condition, handling trials with the equipment, and a review of how the bin behaves when operators use it at production pace instead of demo pace.
ROI starts with total cost, not unit price
The financial case for metal parts bins is stronger when you stop comparing only purchase prices.
Use a total-cost view that includes:
| Cost category | What to include |
|---|---|
| Acquisition | Bin fabrication, finish, dunnage, and any design or tooling cost |
| Operating labor | Time to load, unload, move, present, and return the bin |
| Damage exposure | Scrap, touch-up, sorting, and rework caused by poor containment |
| Space impact | Floor space, stackability, empty return cube, and staging congestion |
| Service life | Repairability, coating durability, and expected reuse in the loop. Many steel bin programs win their case on this point. |
Even when the upfront price is higher than expendable or generic alternatives, the custom bin often protects margin through reuse, lower damage exposure, and smoother handling.
Build the business case with your own plant data
The cleanest ROI model uses your current operation as the baseline.
Measure:
How often parts are damaged or sorted because of current packaging
How much labor goes into reaching, repacking, or rehandling
How many moves the container requires before final part use
How much floor or trailer space is consumed by loaded and empty units
How long the current container lasts before repair or replacement
Then compare the proposed custom design against that baseline. If you need a starting point for supplier discussions, reviewing examples of custom metal bins can help frame what variables belong in the ROI conversation.
Buyers usually underestimate handling cost and over-focus on fabrication cost.
The strongest justification usually comes from combining three effects. Better part protection. Fewer touches. Better use of space. If a design improves all three, the payback argument becomes easier to defend.
A Checklist for Specifying Your Next Metal Bins
Before you ask a supplier for pricing, get your requirements into one document. Most delays, redesigns, and bad fits trace back to missing input at the start.
Specification checklist
Use this list as a working brief for metal parts bins:
Part details
Part number, dimensions, weight, center of gravity issues, fragile surfaces, finish sensitivity, and whether parts can touch each other.Pack pattern
Target quantity per bin, maximum allowable stack inside the bin, required orientation, and whether separators or dunnage are needed.Handling method
Forklift, tugger, crane, pallet jack, conveyor interface, or manual movement. Include entry direction and turning constraints.Use condition
Storage only, transport only, line-side presentation, or a combination. State whether the same bin must serve multiple stages.Stacking requirement
Empty stacking, loaded stacking, maximum stack height, and whether stacks occur in storage, transport, or both.Access requirement
Top pick, side pick, drop gate access, hand clearance, gloved handling, and whether operators pick one part at a time or in bundles.Environment
Indoor dry use, outdoor yard exposure, wet process area, corrosion concern, coating preference, and cleanliness requirements.Return loop needs
One-way shipment, closed loop returnable system, empty return cube sensitivity, and repair expectations.Integration constraints
Rack fit, truck fit, aisle width, automation interface, barcode or label placement, and visual management needs.
Three quick use cases
Automotive stampings usually push toward rigid steel construction, stable stack geometry, and line-side access that doesn’t force deep reaches. Dense parts and repetitive flow reward a durable bin that handles abuse predictably.
Aerospace machined components often need tighter internal control. Surface protection, part orientation, and contact-point discipline matter more than raw quantity per bin.
Heavy fabrication parts usually need straightforward strength first. Large weldments or dense cut components may tolerate contact better, but they demand reliable forklift handling and honest load rating.
The key insight is simple. The right answer changes with the part and the process. Good metal parts bins are specified from that reality, not from a catalog page.
If your team is evaluating custom metal parts bins for storage, shipping, or line-side presentation, Plexform Incorporated builds engineered steel racks, bins, carts, and packaging solutions around the geometry of your parts and the way your plant handles them. Bring part data, handling constraints, and workflow goals into the discussion early, and the design process improves quickly.

Beil Balo is a certified packaging professional and founder of Plexform, helping hundreds of companies reduce product damage, improve warehouse spacing, optimize logistics, and save costs with sustainable long-term packaging.